Crunchy Roasted Chick Peas!

30 minutes is all it takes to make up this protein-packed, satisfying snack. Great for adults and kids alike. Anyone who likes popcorn will love this fun and healthy snack.

You season them yourself, so make them with garlic, cajun, italian, mexican, spicy or any other flavor you want.

IMG_2069IMG_2070IMG_2071IMG_2072

Ingredients:
(for my preferred seasoning)

  • 1 Can of Chick Peas (garbanzo beans) drained
  • 1/2 TBL Olive Oil
  • 1/2 tsp garlic powder
  • 1/4 tsp onion poweer
  • Couple dashes of salt (amount need varies based on how much salt is in the can)
  • Dash of cumin

Instructions:

  • Pre-heat oven to 400 degrees
  • Mix chick peas, olive oil and seasoning together
  • Spread out on baking pan (I like to put mine in the toaster oven, but any oven works)
  • Bake for 15-20 minutes (time varlies slightly depending on your oven and how ‘done’ you want them)
  • Remove from oven, leave on pan for five minutes or so before eating
  • Enjoy!


Fast Baguettes for Dinner – In Less than 30 Minutes

Sometimes while working on dinner, I wish I had some fresh bread to go with it. Tonight was one of those times. At this point, there’s no time for a traditional bread recipe with kneading and rising. Thankfully, I discovered one that will take you no more than 30 minutes and only requires 5 ingredients.

You can follow the recipe as is below or go the extra fast way and make them like I did in my photos. I just shaped them into two loaves and put them on top of a lightly oiled (olive oil) pizza stone for five minutes. Then I baked them.

Enjoy!

Dough, just shaped into loaves on baking stone.

Dough, just shaped into loaves on baking stone.

Baked baguettes, fresh out of the oven!

Baked baguettes, fresh out of the oven!

Ingredients:

  • 2 cups very warm water
  • 1 packet yeast 
  • 2 tablespoons sugar
  • 1 1/2 teaspoon salt
  • 3 to 4 cups flour (I use a mix of white and white whole wheat)
  • (optional) 1 TB ground flax meal

Instructions

  1. Preheat the oven to 425 degrees. In a large bowl, whisk together the warm water, yeast, and sugar. Set the bowl on top of your preheating oven for five minutes. Stir in the salt and add the flour a half-cup at a time, until the dough becomes soft but not sticky. Add in the flax (optional) Knead the dough until elastic (mix with spatula then hands by folding over on itself).
  2. Cut the dough into four even pieces. Roll each of them into four long, thin ropes. Twist together two of the ropes to form one loaf. Twist the other two ropes together to form a second loaf. Transfer both onto a large baking sheet lined with parchment paper.
  3. You can now bake the loaf right away (if you’re in a hurry) or allow it to rise for an additional 15-30 minutes on top of your warm oven.
  4. Fill a large bowl with 3-4 cups of ice. Open your hot oven and place the baking sheet with the baguettes inside, then toss the ice cubes on the bottom of the oven and quickly shut the door. Do NOT open your oven for 15 minutes. Bake until golden brown, about 15-18 minutes.
  5. (Optional but suggested) Check the internal temperature of the bread with a thermometer to make sure it reaches 190 degrees Fahrenheit. Here’s my pick for a four-second reading.
  6. Serve fresh and hot with your favorite olive oil for dipping or alongside a bowl of soup.

original recipe here.

Chocolate Chip Muffins Will Help You Eat Zuchinni!

Yes you just read the title correctly. You will want to make these Chocolate Chip Zucchini muffins not just because they have some veggies in them, but because they taste amazing.. Trust me… my 2-year old nephew that does not eat veggies loved them! That made my day.

So why bake your own muffins? Life is busy right? Compare the ingredients that you get to choose to add to these muffins with those in a typical box of muffins from the grocery store. Your taste buds will thank you. And if you’re making them for others to enjoy, you’ll be confident in knowing you’ve created something with real food that tastes great.

Don’t feel like you have to eat them all the first day. These things freeze super well! Then you’ll have a quick breakfast ready to go for any morning.

Ingredients:

  • 1 cup finely shredded and chopped zucchini
  • 2 cups all-purpose flour
  • 1/2 cup whole wheat flour (white whole wheat or pastry if you have it)
  • ¼ cup granulated sugar
  • 2 teaspoons baking powder
  • ¾ teaspoon baking soda
  • ½ teaspoon salt
  • 1 large egg
  • 2 tablespoons canola oil
  • ¼ cup honey
  • 1 teaspoon vanilla extract
  • 1 cup whole milk
  • ½ cup semisweet chocolate chips

Instructions:

  1. Preheat oven to 375 degrees F. Spray a muffin tin with nonstick spray or line with muffin liners. Set aside.
  2. In a large bowl whisk together flour, sugar, baking powder, baking soda, and salt.
  3. Shred the zucchini and then chop it finely with a knife. This will help it really mix in and be less “noticeable” by skeptical family and friends.
  4. In a medium bowl whisk together the egg, canola oil, honey and vanilla. Add whole milk and stir until combined.
  5. Slowly pour wet ingredients into dry ingredients and stir until incorporated. Fold in shredded zucchini and chocolate chips. Don’t over mix. It’s okay if a few lumps remain.
  6. Divide batter evenly between prepared muffin cups and place in the oven. Bake for 20 minutes or until a toothpick inserted in the middle comes out clean. Remove from the oven and let muffins cool in muffin pan until they’re safe to handle, about 2 minutes. Transfer to a wire rack to cool completely and enjoy!

IMG_20150328_192333
First step is to shred the zucchini

IMG_20150328_192804545
Then you want to finely chop it.

IMG_20150328_194916095
After you pour the wet in with the dry ingredients, fold (not stir) in your chips and zucchini.

IMG_20150328_202801985
And here they are cooled and ready to serve!
IMG_20150328_202743680
This is what happens when you bake them for other people. You have to try one.

I adapted this muffin recipe from the Chef-In-Training blog.

Quick “Restaurant Quality” Salsa at Home

salsa2

Anyone can make this restaurant quality salsa at home. It’s not too chunky or completely pureed, but in my opinion is the perfect consistency for dipping.

No blender. No food processor. Just tomatoes from a carton, some onion, garlic, cilantro, lime juice and a few seasonings.

My preference is to buy Pomi brand tomatoes in a carton. You want to get the finely chopped ones. This way they come ready to go for salsa. If you haven’t tried this brand before, you will be in for a treat. You can buy them at Publix or other local grocery store right next to the canned tomatoes.

Ingredients:

  • One 26 ounce carton of Pomi tomatoes
  • 1/2 of a medium sweet onion chopped small
  • 2-3 fresh garlic cloves pressed (or 1/2 teaspoon garlic powder)
  • 4 tablespoons fresh chopped cilantro
  • Juice from half a lime squeezed
  • 1 teaspoon salt
  • 1 teaspoon sugar
  • 1/2 teaspoon black pepper
  • 1/2 teaspoon cumin (omit if you don’t have on hand)

Directions:

  • Mix all ingredients together in a non-metal bowl
  • Let sit for a couple of minutes and enjoy!
  • Will last for 4-5 days in the fridge

My Favorite “Breads” to Bake

About a year and a half ago I got a bread machine from my mom for Christmas. That began my new passion for making homemade breads. Now when I say breads, I mean more than just your basic loaf. I’m going to highlight a few of my favorites today. There are some that can be done in as little as 30 minutes, and others that proof over night. The best part with each is that you control the ingredients. All have less than eight ingredients, which is by far less than most grocery store breads.

1386648457064

Super-Soft Whole Grain Sandwich Bread
This is my go to bread to make. We make toast and sandwiches with it. Start it the night before and when you get up, let your bread machine do the rest! I adapted a recipe from Peas and Thank You to work in my bread machine. Here’s the recipe.IMG_5125

Naan Bread (Indian style flat bread)

This stuff is great. It can be eaten by itself, used to dip into hummus, make a wrap or even as a pizza crust. Give yourself just over an hour for this one. No oven needed. You make it in a cast-iron skillet. This recipe from Budget Bytes is so tasty!

IMG_20140709_184119445

Pizza Dough (Quick!)
If you keep a few things on hand,  you can make homemade pizza in as much time as it takes to call and order it. I always have a jar of sauce, mozzarella cheese and pepperoni (only way my boys eat it) around. I found this recipe from Center Cut Cook that is easy and great! It only takes yeast, water, salt, olive oil, honey and four.

IMG_20140304_184813916

Dutch Oven Crusty Bread
This stuff tastes like you just sat down at a really good Italian restaurant. You won’t believe you created this with four ingredients. Flour, water, salt and yeast is all it takes and a lot of hours sitting on the counter. This is another overnight recipe. You don’t even have to knead it. Just stir with a wooden spoon. Here’s a simple recipe from Alaska From Scratch that is great!


HAPPY BAKING! And…In case you’re wondering, I buy only King Arthur brand flours. You can get them at most local grocery stores and I believe they’re worth the small extra cost.

BBQ Chicken Pizza – Homemade Quick!

pizza!

I like pizza, my wife likes pizza and my boys like pizza, which means we eat pizza at least once a week. My oldest son declared about a month ago that Friday night is pizza night. That holds true most weeks, but sometimes we make it over the weekend. Yes I just said make it. You’re probably thinking to yourself… I don’t have time for that. Try it though, and you’ll be hooked.

You see, when you make it yourself, you control what goes into it. (The chains don’t seem to care)

Tonight I made a BBQ chicken pizza for my wife and I, and a pepperoni pan pizza for the boys (sorry I forget to get a photo of that one). I started with the same dough recipe but baked them differently. Here are the recipes:

Start with homemade Pizza Dough Quick (You could always pick up some dough from the Publix bakery and let it rise, but this is easy):

  • 2 1/2 teaspoons rapid rise yeast (1 packet)
  • 1 cup warm water
  • 2 1/2 cups all purpose flour
  • 2 teaspoons honey
  • 1 teaspoon salt
  • 2 tablespoons olive oil

I made the two recipes below from one crust recipe. For a really thick crust, just make one pizza out of the homemade dough recipe.

Crust Directions for hand tossed / thin crust flavor:

  • In a large bowl, combine water with honey and then add yeast and stir until the yeast is dissolved (stir lightly).
  • Add in flour, salt, and olive oil and use a wooden spoon to combine.
  • Once the ingredients are well combined with the spoon, use your hands to knead the dough for a few minutes.
  • Form the dough into a ball, and let it rest for 10 minutes.
  • Pre-heat your oven to 450 degrees and spray a 16 inch pizza pan with non-stick cooking spray (or use pizza stone)
  • Roll the dough out into a 16 inch circle. Roll the edges of the dough.
  • Combine 2 tablespoons olive oil with Italian seasoning and brush the entire crust with this mixture.
  • Place the crust in the oven for 8 minutes.
  • Remove from the oven and add sauce, cheese, and toppings.
  • Return the pizza to the oven for 10-12 minutes, or until the crust is crispy and the cheese is melted.
  • Cut into slices and enjoy!

BBQ Chicken Pizza Ingredients / Toppings:

  • 1/2 pound chicken cutlets. Brush a little bbq sauce on them (I used Trader Joe’s) and broil for ten minutes total (or less, just keep an eye on them). Once done, wrap up in foil to let the juices settle in. Then chop into chunks.
  • 1 cup mozzarella cheese.
  • 3/4 cup cheddar cheese.
  • BBQ Sauce (I used Trader Joe’s).
  • 1/4 cup sliced red onions.
  • 2 tablespoons chopped fresh cilantro.

For a Pan Pizza:

  • Use a 9×13 inch metal baking pan and grease it with olive or canola oil.
  • After letting your dough rise, press it out into the pan. If needed, let it rest for a few minutes, then continue to press out to the edges, being careful not to tear or create holes in the crust.
  • Let sit in the pan for 10 minutes, then brush a little olive oil mixture onto it.
  • Place in the oven for 8 minutes.
  • Remove from the oven and add sauce (I used Muir Glen brand in the can), cheese, and toppings (my boys only eat pepperoni pizza).
  • Return the pizza to the oven for 10-12 minutes, or until the crust is crispy and the cheese is melted.
  • Cut into slices and enjoy! (You won’t need Pizza Hut again!)


Chorizo Corn Bread

Image

This corn bread can be a great side item or a main in and of itself! We enjoyed it with a side of braised brussels sprouts and green peas. I adapted the corn bread part of the recipe from the Pioneer Woman, but tweaked it. You could easily make it gluten by substituting gluten-free flour for the AP flour.

Ingredients:

  • 1 package fresh chorizo sausage (not the hard dried kind)
  • 1 medium onion diced
  • 1 cup yellow cornmeal
  • 1/2 cup all-purpose flour
  • 1 tablespoon baking powder
  • 1 teaspoon salt
  • 1 cup buttermilk
  • 1/2 cup milk (whole is best)
  • 1 whole egg
  • 1/2 teaspoon baking soda
  • 2 tablespoons plus 1 tablespoons coconut oil

Directions:

  • Preheat the oven to 450 degrees F.
  • Combine the cornmeal, flour, baking powder and salt in a bowl. Stir together.
  • Measure the buttermilk and milk into a measuring cup and add the egg. Stir together with a fork. Add the baking soda and stir.
  • Pour the milk mixture into the dry ingredients. Stir with a fork until combined.
  • In a small bowl, melt 2 tablespoons coconut oil in the microwave (not too hot). Slowly add the melted shortening to the batter, stirring until just combined.
  • Sautee onion and chorizo in a cast-iron skillet breaking up meat into small pieces. Cook until lightly browned.
  • In the cast-iron skillet, melt the remaining 1 tablespoon of shortening with chorizo and onion mixture. Pour the batter into the hot skillet. (The batter should sizzle.) Spread to even out the surface. Cook on the stovetop for 1 minute, and then transfer to the oven and bake until golden brown, about 20 minutes. The edges should be crispy! Test with a toothpick in the middle for doneness.
  • Cut and enjoy!

Image


Tips for Better Pancakes

Image

Here are my top two tips for pancakes no matter what recipe you use (though I have some favorites):

– Cook them in a cast-iron skillet. Nothing else gives you the same golden brown, crisp outside like at a restaurant. Make sure you let your pan heat up long enough and don’t cook higher than medium.

– Let your batter sit before cooking. After you mix together the dry and wet ingredients (never over mix), let the batter sit for about 10 minutes.

I’ll share some favorite pancake recipes and ingredients in another post, but this will get you started. Pancakes are easy and tasty to make at home!

Pumpkin Breakfast Cookies

Image

My boys love breakfast items made with pumpkin. Pancakes, waffles and now cookies! Plus these cookies are wheat-free. So for anyone that’s looking for gluten-free recipes, you have to try this one. 

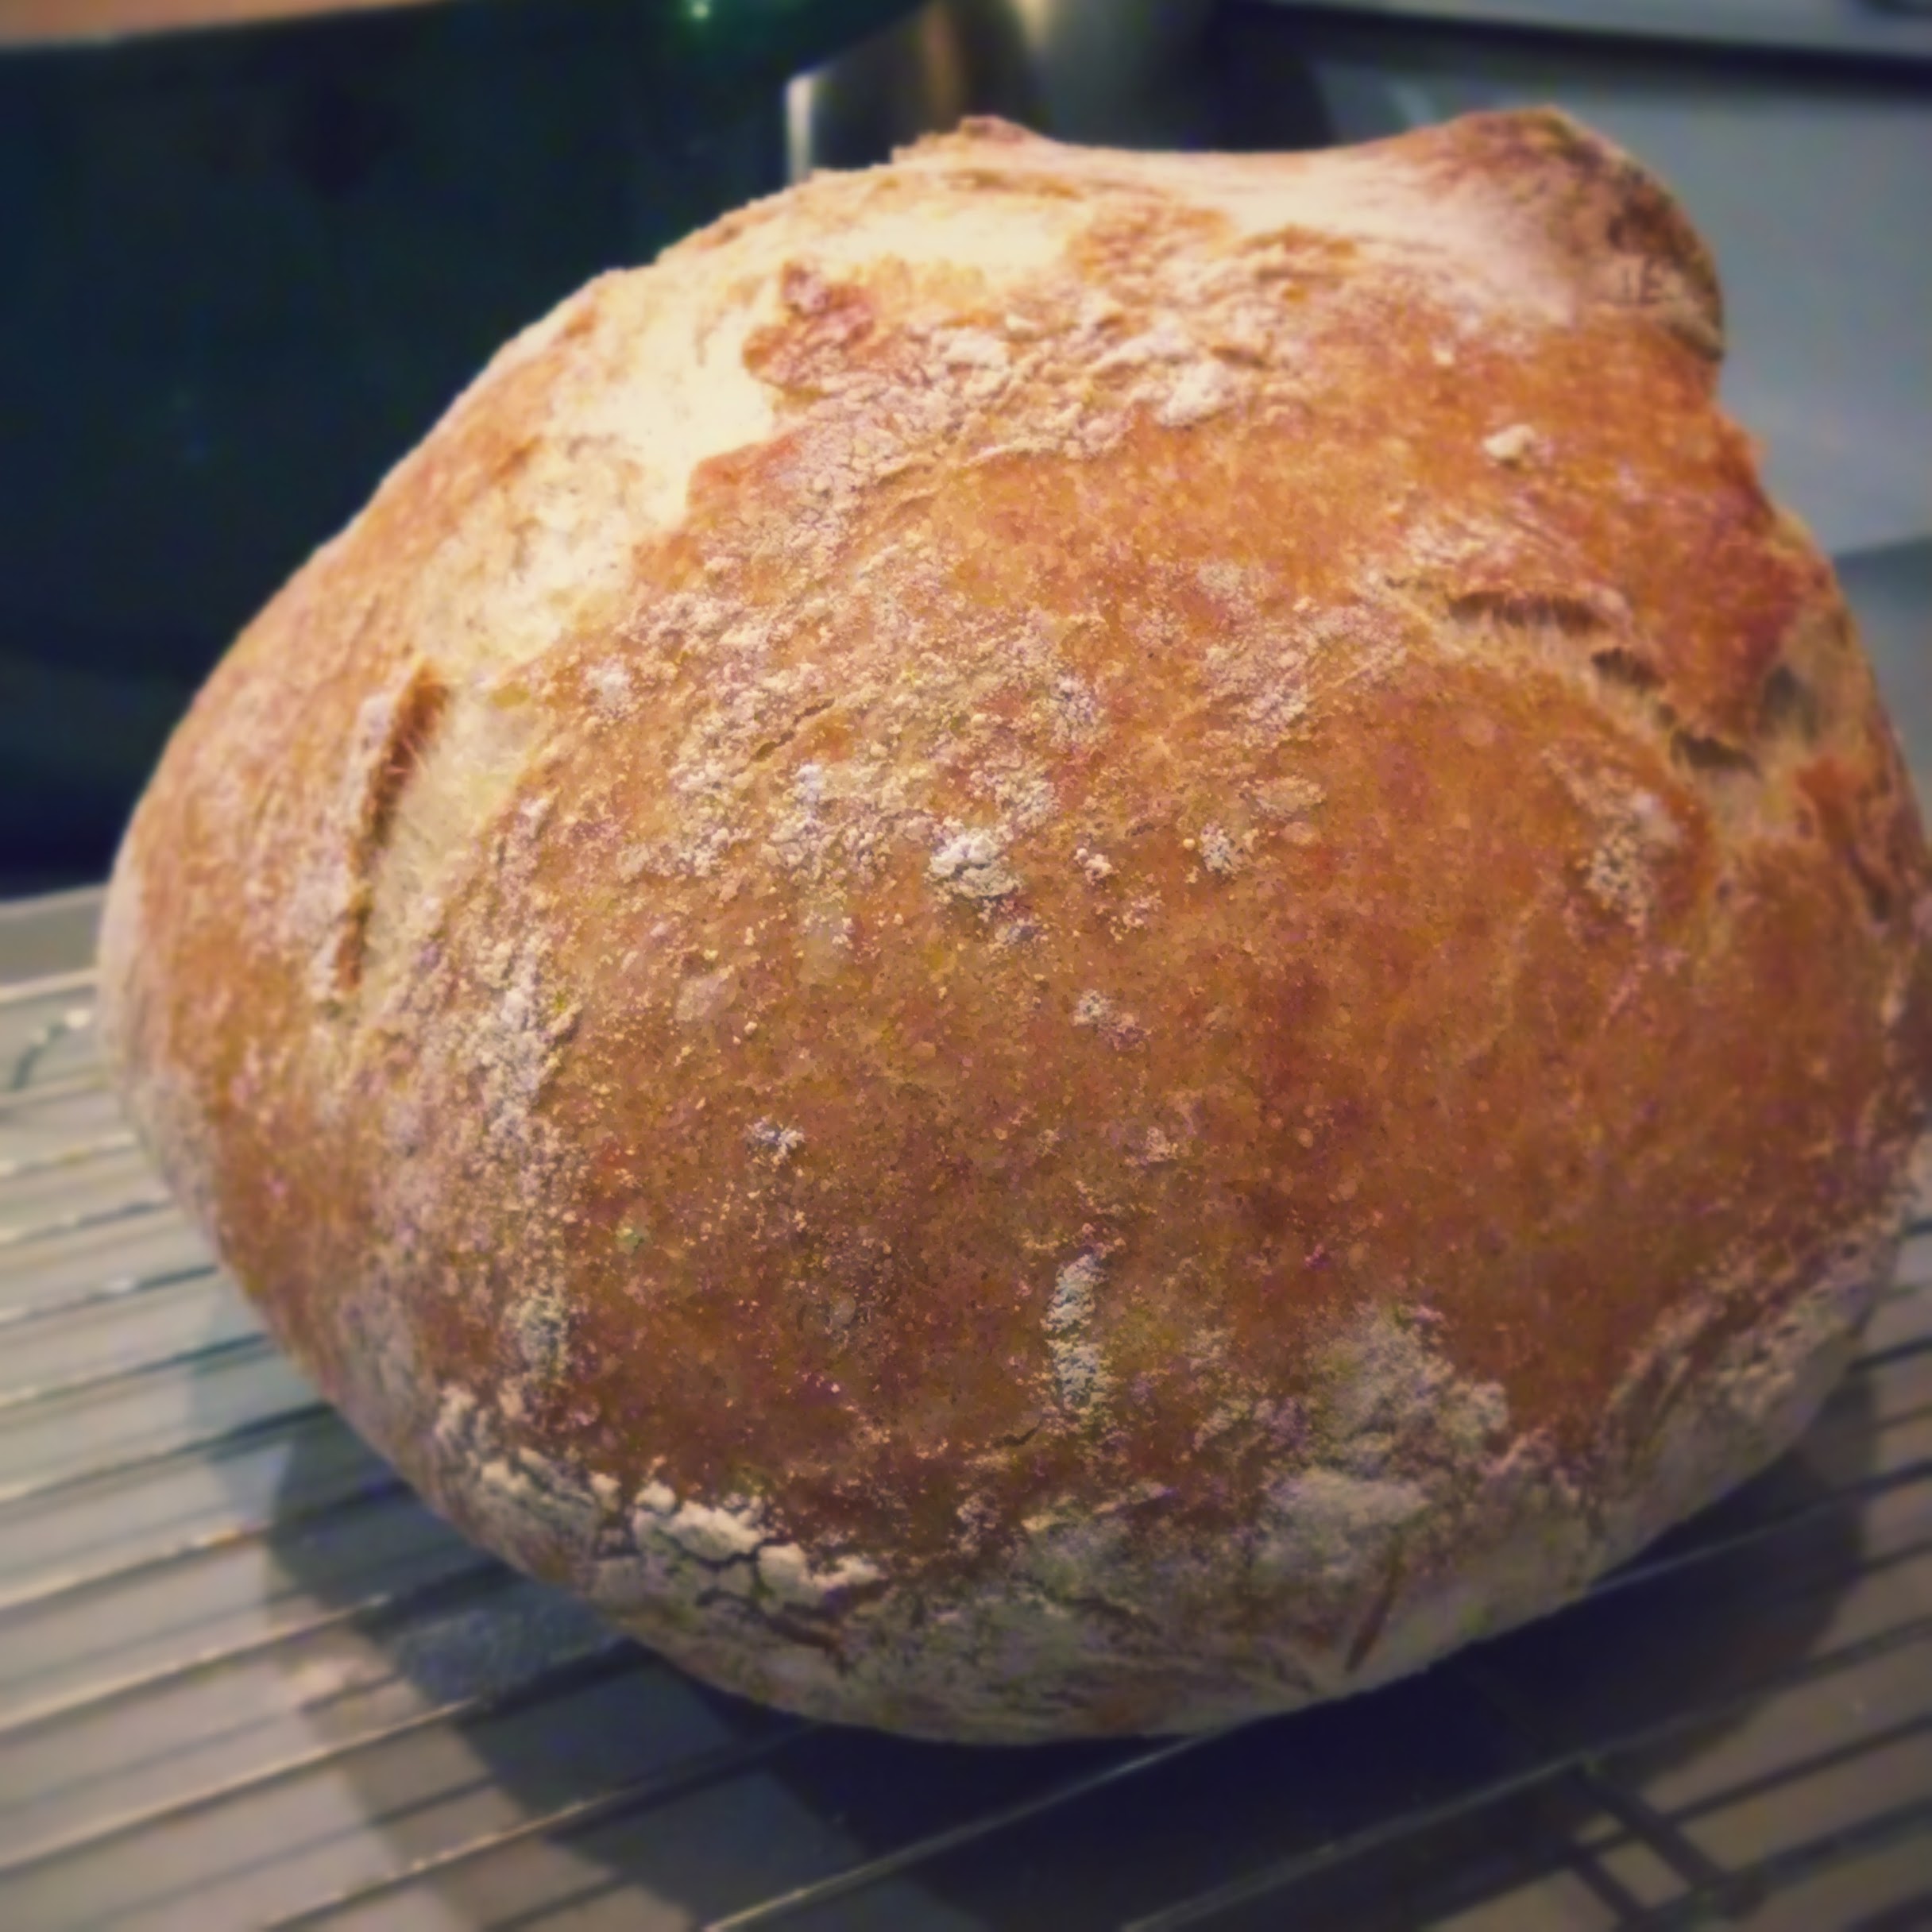
A quick search last night turned up a few recipes for “pumpkin breakfast cookies.” I browsed them and looked over the needed ingredients before settling on this one from a blog called “From the Little Yellow Kitchen.” The photo above shows how mine turned out. Plan on about 15 minutes of prep time and then 13 minutes of bake time.

Pumpkin Oatmeal Breakfast Cookies {Gluten-free}

Makes about 2 dozen cookies

Ingredients:

2/3 cup pumpkin puree (not pumpkin pie filling)

1 large egg

1 1/2 tsps pure vanilla extract

3/4 cup oat flour (rolled oats, well ground in food processor)

1  3/4 cup old fashioned rolled oats

1/4 cup pure maple syrup

1/4 cup dark brown sugar (light worked fine for me)

1/4 tsp baking powder

1/2 tsp baking soda

1  1/2 tsp cinnamon

1/4 tsp nutmeg

1/4 tsp ground cloves

1/4 tsp ground ginger

1/8 tsp salt

3/4 cup semi-sweet chocolate chips

1/2 cup dried cranberries

Directions:

Preheat oven to 350 degrees F. Line a baking sheet with parchment paper or a silicone baking mat. Set aside. Alternatively, you can lightly grease mini-muffin cups and baking cookies in there.

Make oat flour, by grinding about 1 1/4 cups oats in a food processor, until finely ground, about 1-2 minutes.

In bowl of stand mixer, combine pumpkin, egg, and vanilla and beat until well combined. In a separate bowl, combine oat flour, oats, maple syrup, sugar, baking powder, baking soda, spices, chocolate chips, and dried cranberries. Add the dry ingredients to the wet ingredients and mix until just combined. The cookie dough will be thick.

Using a small cookie scoop, drop about 1 1/2 Tablespoons of dough onto prepared cookie sheets or mini muffin cups and slightly flatten to the shape you want your cookie, as they won’t move much in the oven.

Bake for 13-14 minutes until lightly browned. Allow to cool on the cookie sheet for a couple minutes before transferring to a wire rack.

Cookies will stay fresh at room temperature for 4 days in an airtight container, or for about a week in the fridge.

(From the Little Yellow Kitchen blog)


Why Eat a Colorful Plate of Food?

image

Grilled Dinner

Having multiple colors of foods on your plate has benefits:

1. It’s visually appealing. We’re all typically more apt to enjoy things when they look nice.

2. You will include more vegetables and fruits, since they’re naturally more colorful that meat and starches.

3. Your body will get the nutrients it needs naturally. Each type of food with different colors contains different essential nutrients.

4. The meal will be more enjoyable overall.

The meal pictured here was a dinner I made with:
– pesto coated grilled chicken thighs
– grilled potato rounds
– grilled asparagus
– slaw with red cabbage, carrot, cilantro, cumin, salt, rice vinegar and olive oil
– sliced onion and yellow tomatoes